Cross Processing Using Photoshop
The effect was discovered independently by many different photographers often by mistake in the days of C-22 and E-4 . It has been used a lot for fashion advertising and band photography. Photoshop offers the chance to simulate the chemical cross processing process with the help of Curves Adjustment layer. This is a great effect that you can use to bring any photo to life also a good way to familiarize yourself better with the Curves Adjustment Layer.
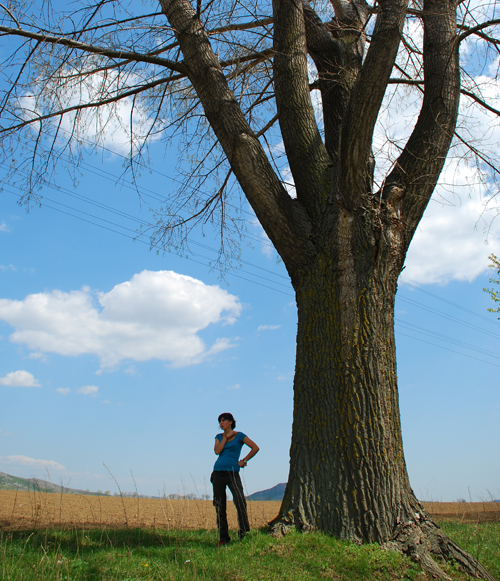
There are two types of cross processing that we will illustrate today. The first is E-6 to C-41 and the second C-41 to E -6. So let’s begin with a photo of your choice. I am using this photo from my personal collection.

So open up your photo, go to the adjustments layer and choose Curves. Now perform these  settings:


And this should be the result :

If you are not completely satisfied with the result, you can always go back and play around with the settings. Now let’s try the C-41 to E- 6 version Again open up the Curves Adjustments Layer and perform the following settings :


And here is the final result :

This is a great effect for a retro look, although, I ussualy prefer to give an Overlay mode to the Curves layer .  It’s simply up to you  to experiment with different settings.
What is great about cross processing the result will also depend on the characteristics of the photo you are using ( the amount of darks, the proportion between color) . So if you use a different photo you end up with a different result.  I’ll go a little extreme and use a this shall I call it almost black and white photo from stock xchange .

Open it up and perform an E-6 to C- 41 Curves Adjustment. Only reduce the opacity lever to about 40% Â . And you have taken the photo in a whole new direction.

You can save your settings for future use or you can download my set of presets.

Download presets: [download id=”65″]
This is the end of this tutorial. Hope you find it useful and we will see you next time!
Do you want to learn more about how to work with Photoshop?
See our Illustrator and Photoshop tutorials. They are all FREE. Also check all Free Vectors Category.
Very cool Techniques! Thanks for sharing
great effect…I was wondering how they were doing that
`great effect…I can’t wait to put it to use
nice!
nice!