How to Create Retro Vector Letters
Program: Adobe Illustrator CS3
Difficulty: Intermediate
Completion Time: 1 hour
Final image

Introduction
Letters and writing are very helpful elements in every designer’s work. They help the artist send a message in the easiest way possible, and also help emphasize the existing message in an illustration. Although the Internet provides colossal font resources, sometimes the design needs more than just a font. That’s why graphic styles and other effects are used in illustrations, banners, posters and others. Vector letters are expanded letters with effects added to them. Because they are expanded, the range of effects you can use on them is limitless: graphic styles, gradients, 3D effects and others.
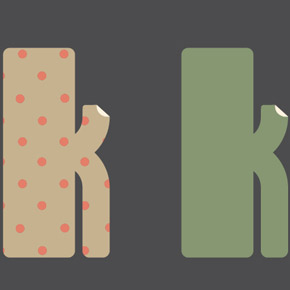
The style showed in this tutorial is a retro one, with massive, block-like, flat letters and the appearance of paper with folded corners.
Process
Let’s start by searching for inspirational pictures on Shutterstock, using keywords such as ‘retro’, ‘vintage’, ‘paper’ and ‘letters’. The colors used for this type of letters are desaturated, mild ones, with brighter or lighter colors used on details, such as dots or other subtle patterns. The shapes are round and simple, without too much detail.
So let’s make two letters, a flat-colored one and one with a pattern added to it. To start making the letters, we have to choose one or several fonts. Let’s go with Blanch. Using the Type Tool (Shortcut: T), type the letter ‘K’
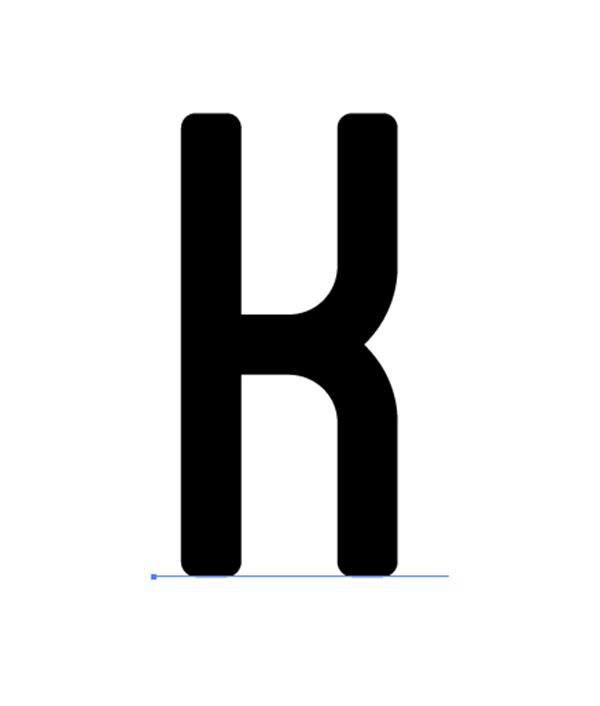
After typing the letter, you should expand it, by going to Object- Expand, and hitting OK.
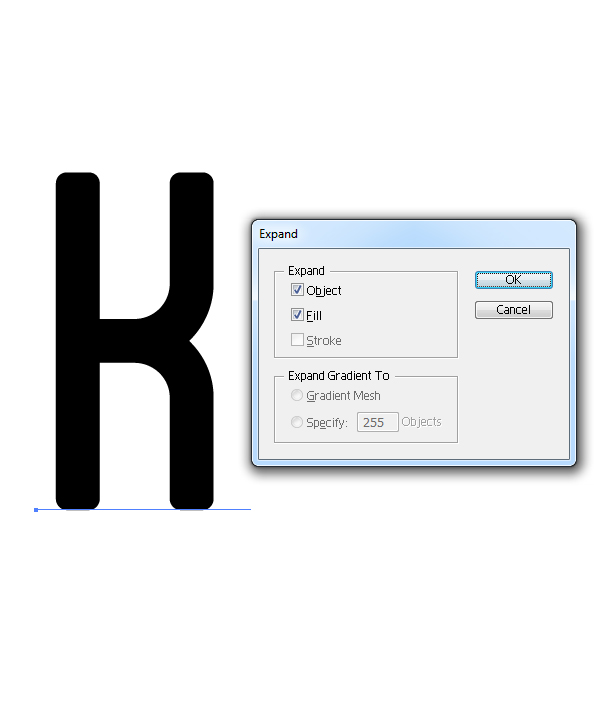
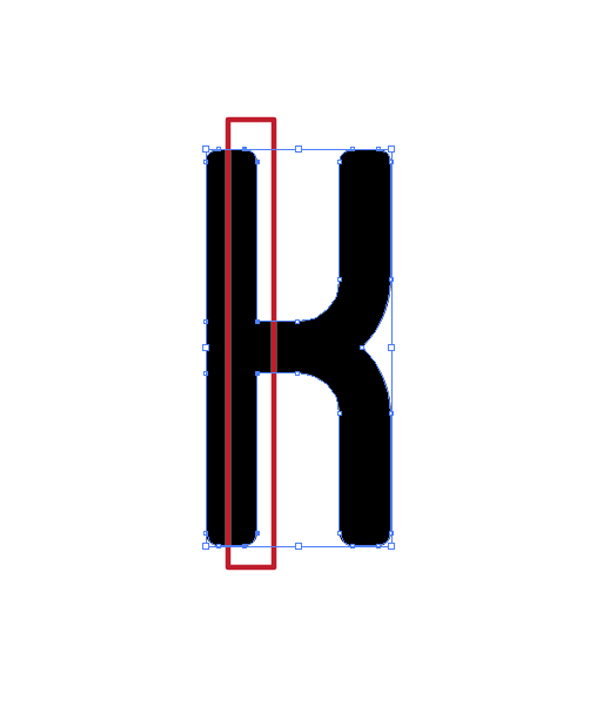
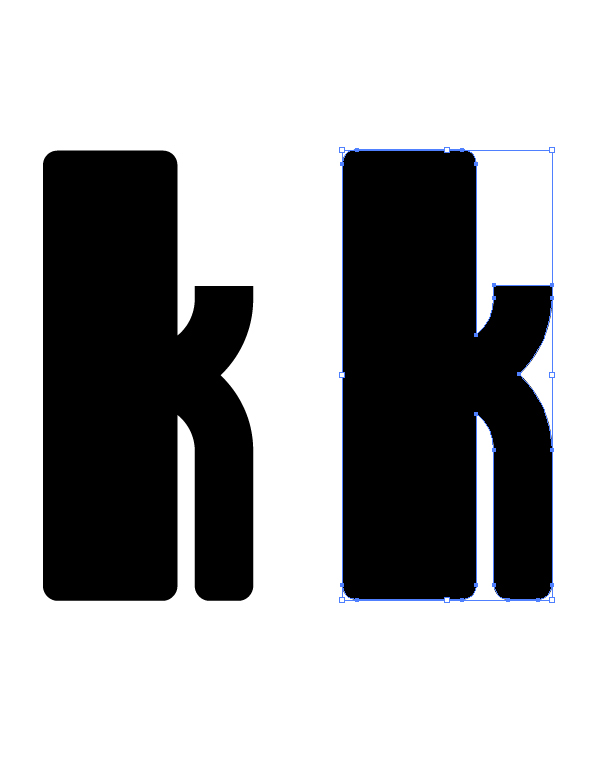
As you can see, this font has round corners and a very simple design. However, the letter is not as massive as wished. This means you should edit it by dragging the anchor points. First of all, the vertical line should be the thickest one. To do this, you should select its right anchor points with the Direct Selection Tool (shortcut: A) and drag them to the right, like this:

After doing this, you must merge the object in order to remove the interior lines created by dragging those anchor points. To do this, go to Window- Pathfinder to open the tab and hit Merge.

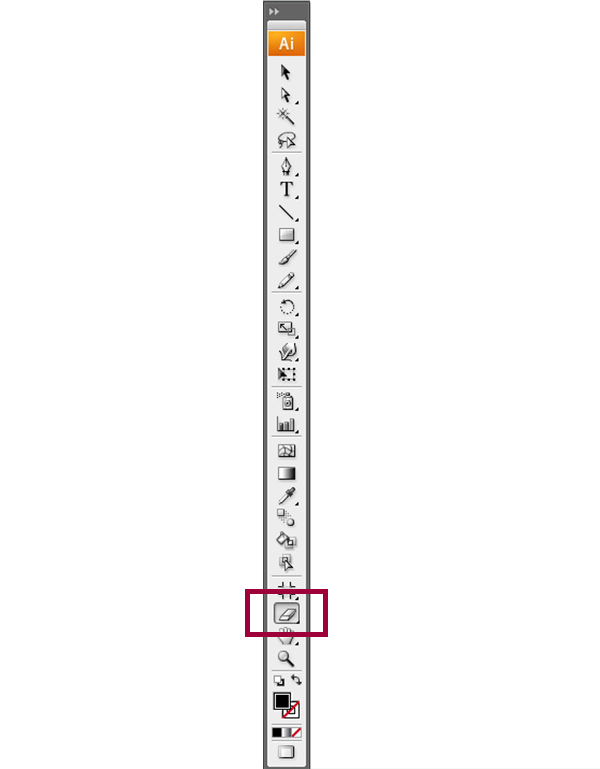
Now you have a merged object to which you can add effects. But before doing that, let’s make it a little more fun. To do that, let’s make the upper tag smaller than the bottom one. You should use the Eraser Tool (shortcut: Shift +E).
After this, by pressing the Alt key, erase as much as you want, resulting something like this:

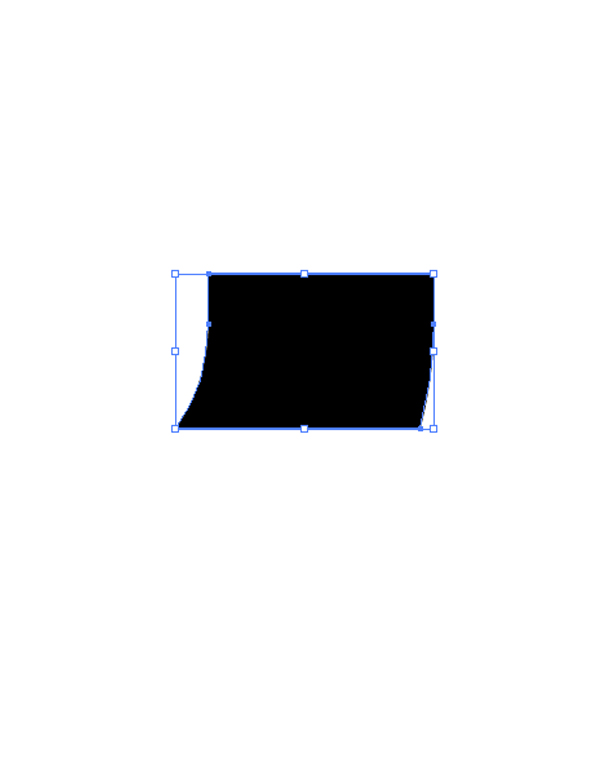
You can see that the deleted part left some rough edges. You should make those edges look round and soft like the others. To do that, copy the object by pressing the Alt key and dragging the letter.
The next step is to erase the new object, in the same way explained above, leaving only the end of the tag, the part of the object you want to edit.
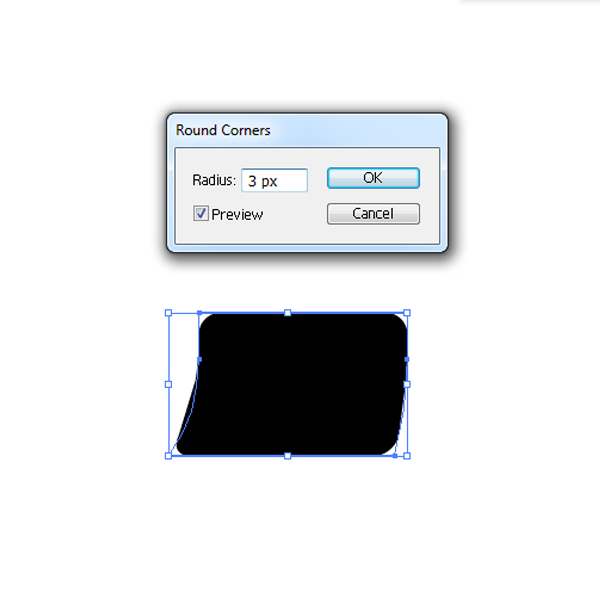
Now you can edit it using Round Corners from Effect- Stylize. Set the value to 3px and Tick the Preview box to see if the result is right.
Then go to Object- Expand. After this, you should put the new object in front of the letter

And to place it to fit in the picture. The result should look similar to this:

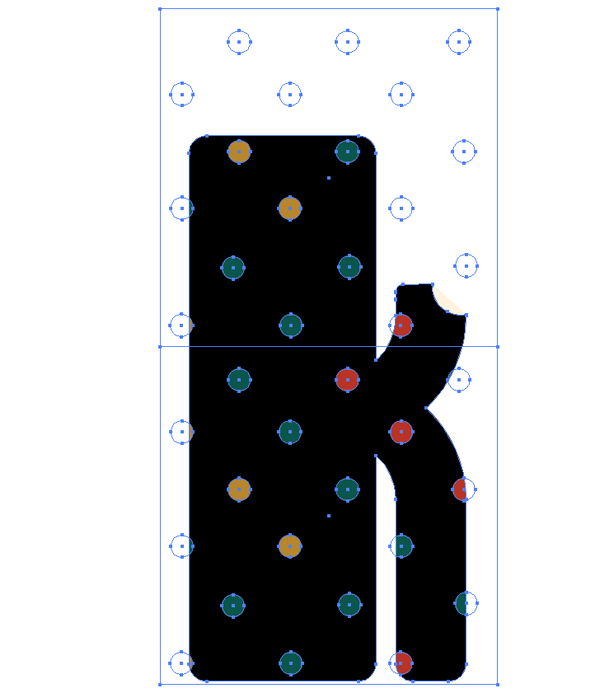
You can leave it like this and add a color to it, but I thought it should look more like a block, so I selected all its right border anchor points with the Direct Selection Tool and then dragged them with the right arrow.

Make sure you don’t drag them too much to the left because the letter might end up looking disproportioned.

The next step is to add color to the letter. You can choose any color as long as it’s desaturated and not too bright, but I decided to use green.

As I said at the beginning of this tutorial, we’re going to use an effect of folded corners of paper for each letter. Creating this effect is a very simple process. First of all, you should, draw diagonal line with the Line Segment Tool wherever you want the folded corner.
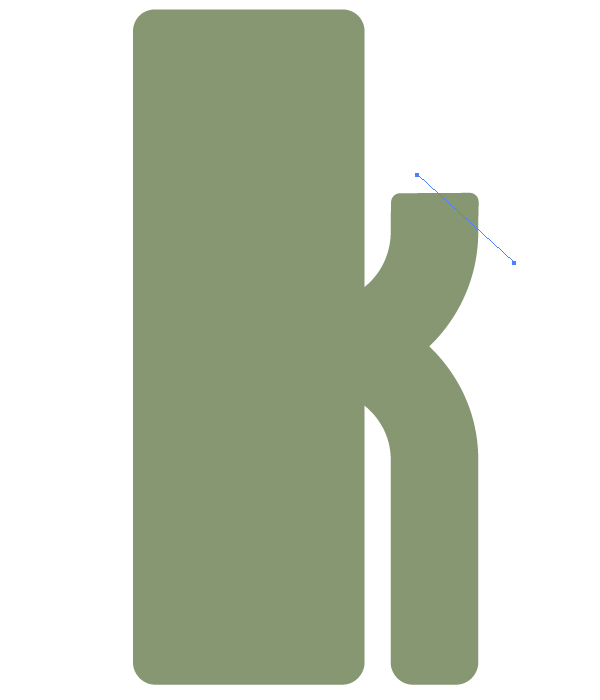
You should be careful not to draw it too far into the element so that after you cut the corner, the letter should look almost the same.
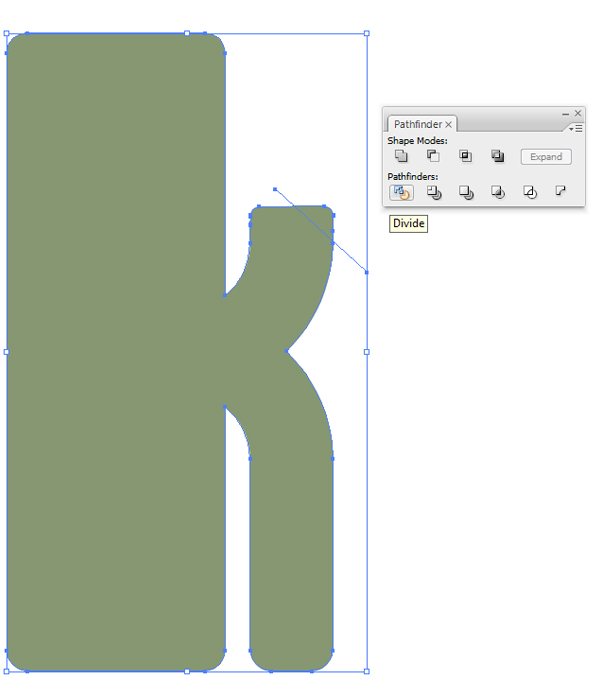
After drawing the line, select both the line and the letter and from the Pathfinder window, hit Divide.
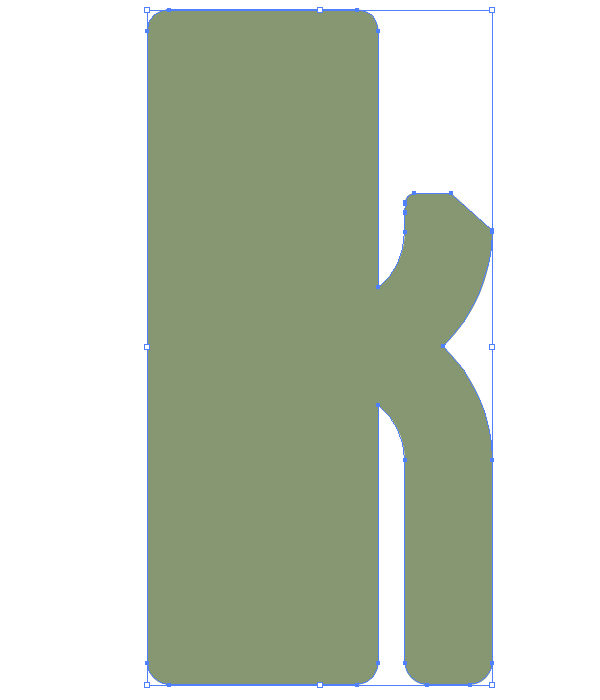
After this step, select the corner with the Direct Selection Tool and just delete it. This is how it looks:
To create the feeling of folded paper, and using the Pen Tool (Shortcut: P), draw half a circle and apply a light fill to it, like this:

This is how the simple, flat letter looks like. To make a letter with a pattern applied to it, the first step it to copy this one, pressing the Alt key and dragging it to the side. Then paste in the document a seamless dotted pattern, that can be found here: Designious.com. These are the two letters and the pattern:

As you can see, the pattern is a little too big for the letter, so you should rescale it, pressing Alt+Shift and dragging one corner. Depending on the effect you want to achieve, you can leave the pattern as it is or make it much smaller, creating tiny dots on the letter. Let’s go with a medium size, like this:

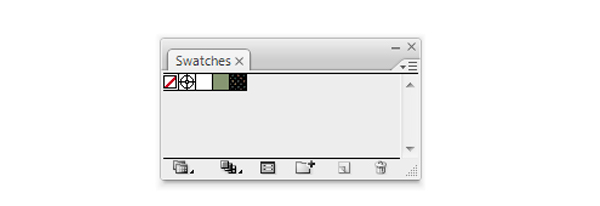
To apply it to the letter, just drag and drop the pattern object into the Swatches window and it will become a swatch.
To add it to the letter, with the Direct Selection Tool, select the green area and then select the pattern swatch. The letter will automatically look like this:

If you want to change the colors, you should first expand the whole object, including the applied pattern. Select the object with the Selection Tool (shortcut: V) and then expand it:
After this, hit Merge and then Object- Path- Clean Up. Now you can change the colors. Select the black area with the Direct Selection Tool and change the color. I chose a light brown to give the letter a vintage feel.

After that, using the Magic Wand Tool select the green, yellow and red dots and recolor them too.

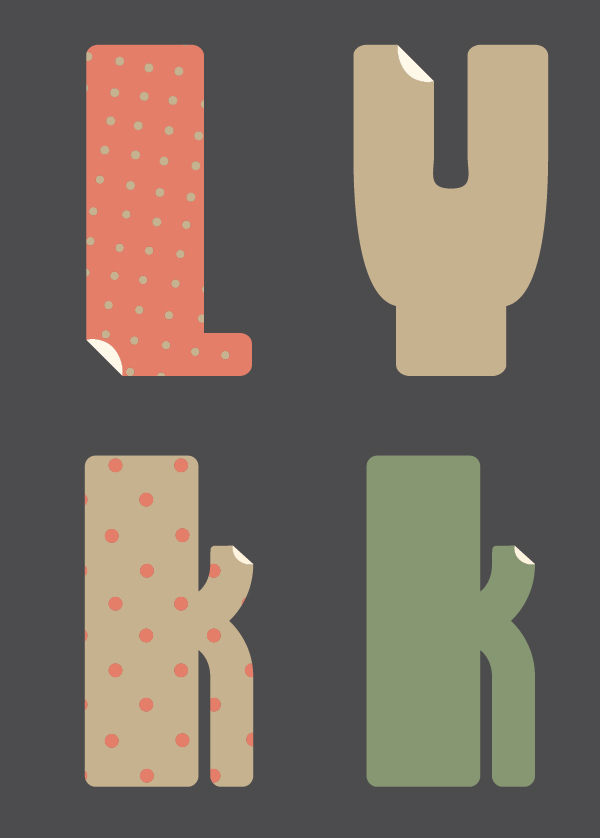
The two letters are finished. Using this process, you can build any letter and make a whole retro alphabet.
Final image
Editor’s Note: This post was originally published in September 2014 and has been completely revamped and updated for accuracy and comprehensiveness.
daa
Lovely creation and wonderful illustrator tutorial …