Adobe Illustrator Tutorial: How to Draw a Character, From Concept to Final Design
When drawing an illustration, the concept is the most important thing to begin with. In this tutorial, we will learn how to create a funny, cartoon character, using basic shapes and how to transform it in a vector. I definitely think that everyone can improve his/her drawing skills. You should just keep practicing, work a lot and stay motivated. You’ll get there!
Let’s begin!
Step 1
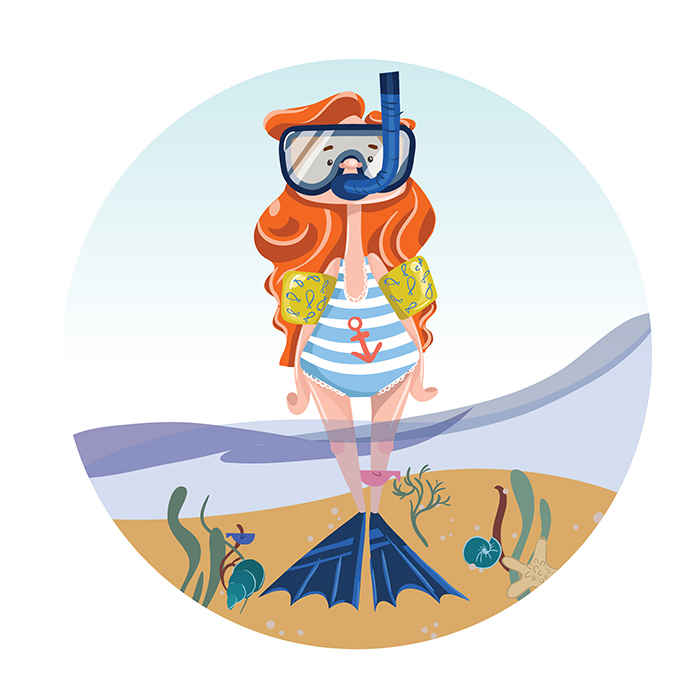
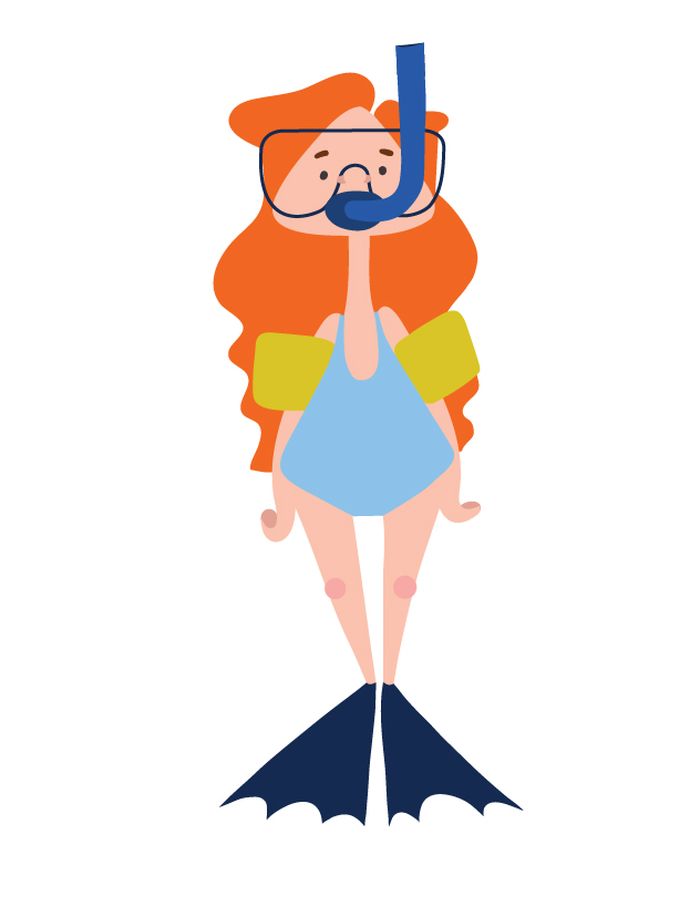
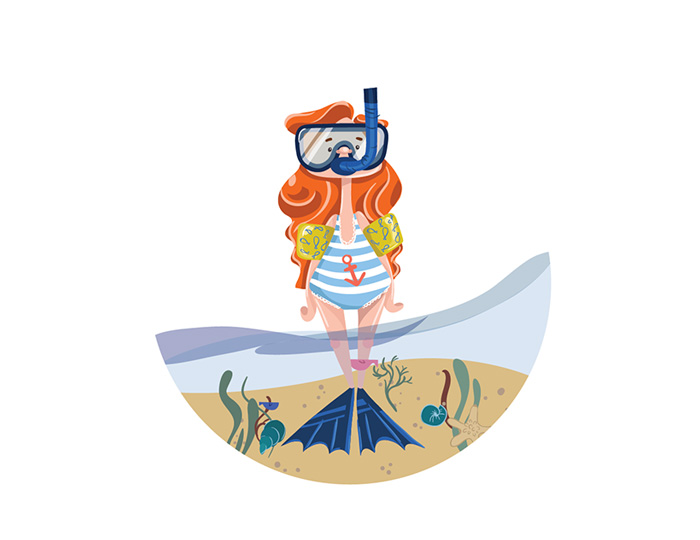
We’re starting with the idea of a concept for our character/illustration. It’s crucial to define it very well before we start vectorizing. The sunny and hot weather makes me think about summer side, long days and a lot of free time. So I decided to draw this cute, little girl, ready for snorkeling.
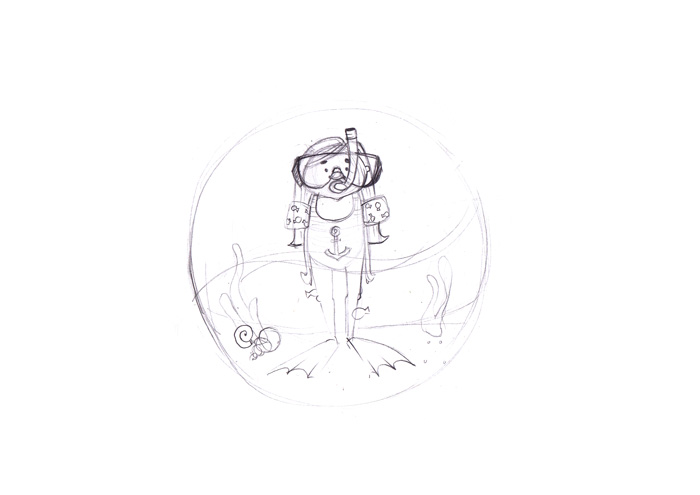
That’s just the first, rough sketch. Try to draw it really fast, think only about the composition and content, and less about details. Keep the cleans clean and the roughs rough.
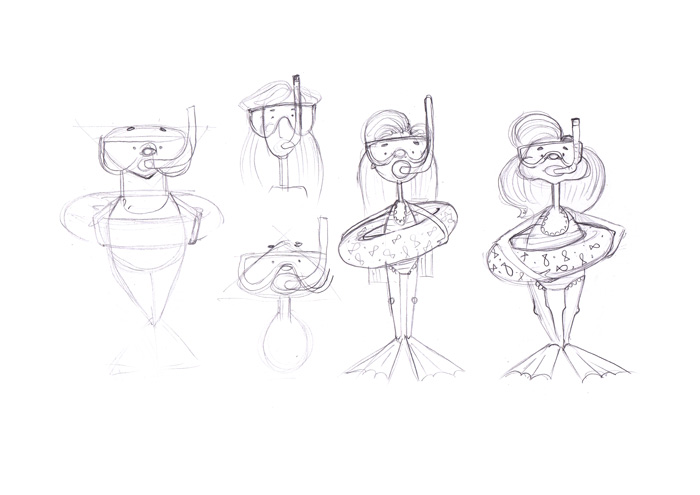
Let’s try other shapes, mainly for the head. Observe how much the character changes, once we make the head a little bit longer or rounder.
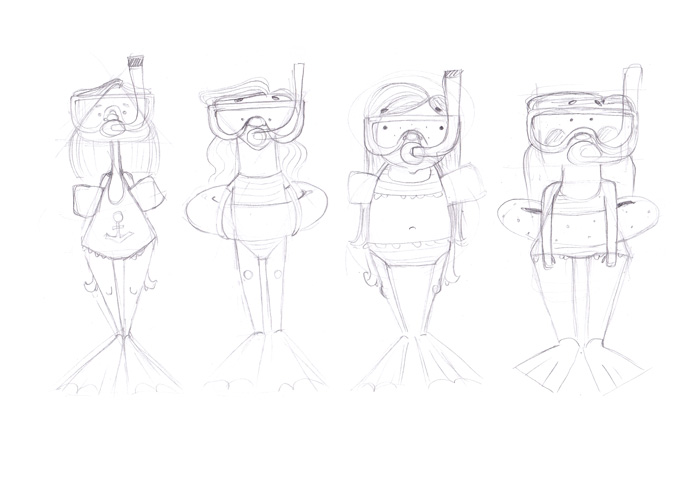
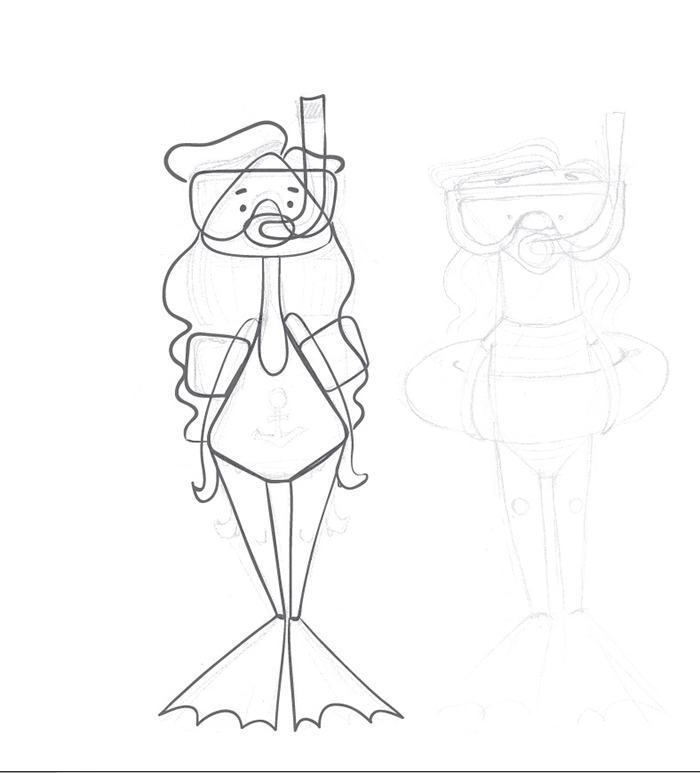
In the example below we can see sketches in different stages. It’s nice to have a choice, so you can try to redraw the character as many times as you want. Don’t be afraid to waste some paper sheets!
For the body, I’m using geometric shapes, as a triangle, a rectangle or a circle. This method of construction makes the character more memorable and perceivable because the human eye becomes familiarized with those shapes. Check out the example below.
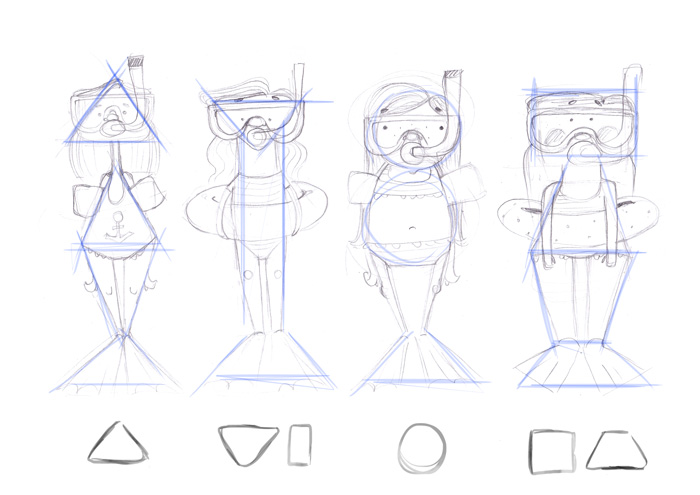
We have four characters to choose from. But it’s not necessary to use only one, you can combine details from all of them. I like most the first one, but I’m going to use the hairstyle from the second one. I think that it looks good and suggests better the shape of the head.
Step 2
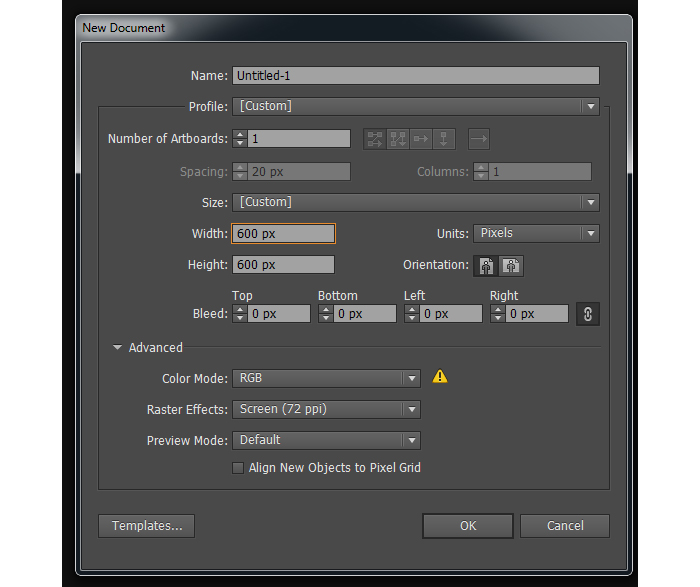
Create a new file in Illustrator by CTRL+N or File->New.
We will use a square canvas, it’s the most appropriate proportion for a circle illustration. You can use the presets from below.
Now just drag and drop the sketch in Illustrator. You can resize it if it’s too small or too big.

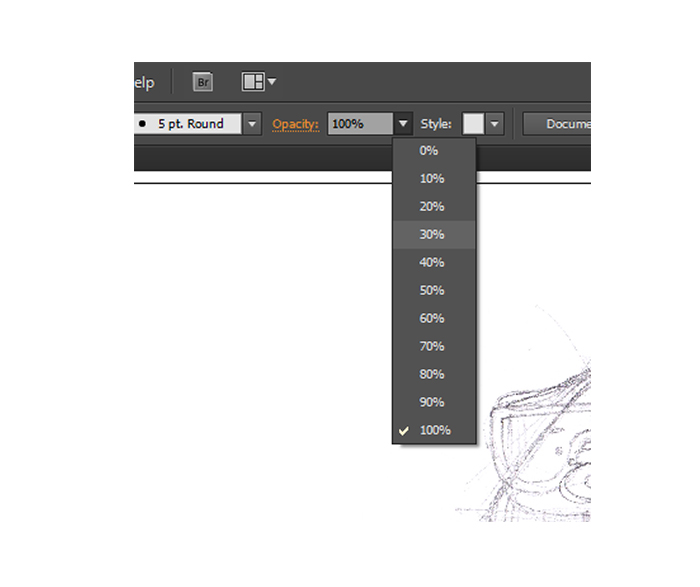
Since we are using only the first character, we should put it in the middle of the canvas. Reduce the opacity to 30%.
Lock the layer so you won’t be able to move or select the sketch by mistake.
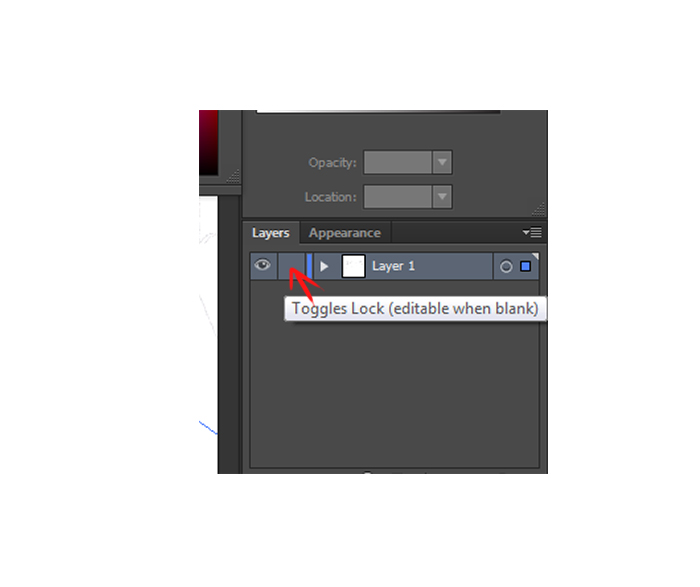
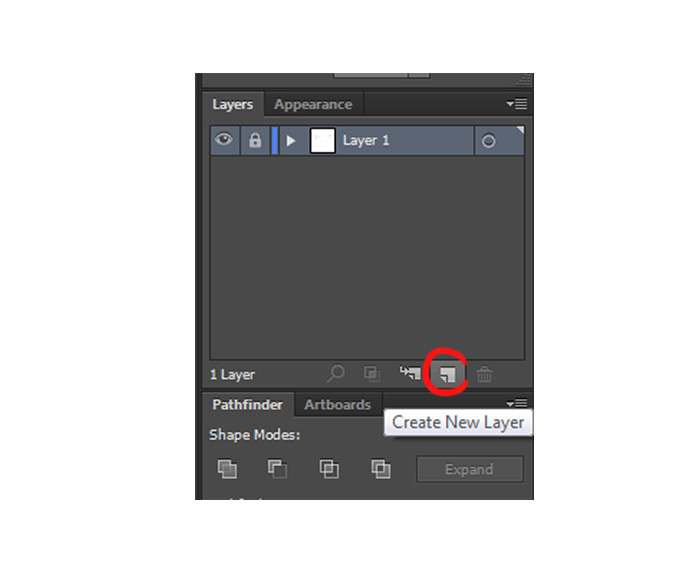
Create a new layer by clicking on the white blank page from the layer menu.
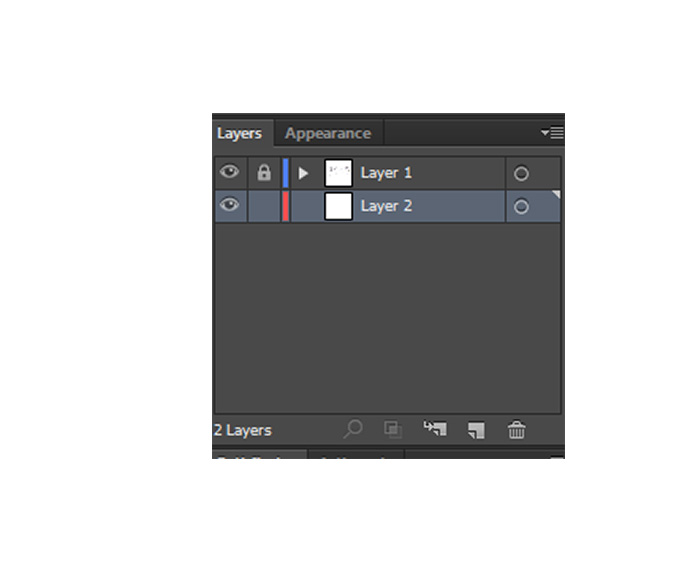
Move the sketch layer on the top, by clicking on it and dragging it down.
Step 3
Now we can start drawing our character. I’m using a graphic tablet, so it’s easier for me to draw the outlines with a brush. But if you are using a mouse or you are more comfortable to use the Pen tool (P), feel free to use it.
If you choose to draw with a brush, here are some presets, that will make the line (and the shape later) nice and fluid.
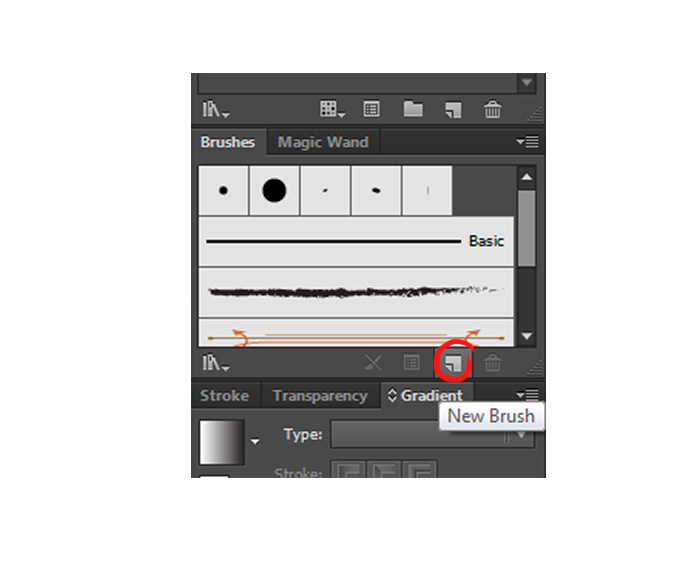
If you don’t see this panel, you can go to Window->Brushes or just hit the F5 button.
To create a new brush click on the little white sheet (New Brush). Choose the Calligraphic brush and click OK.
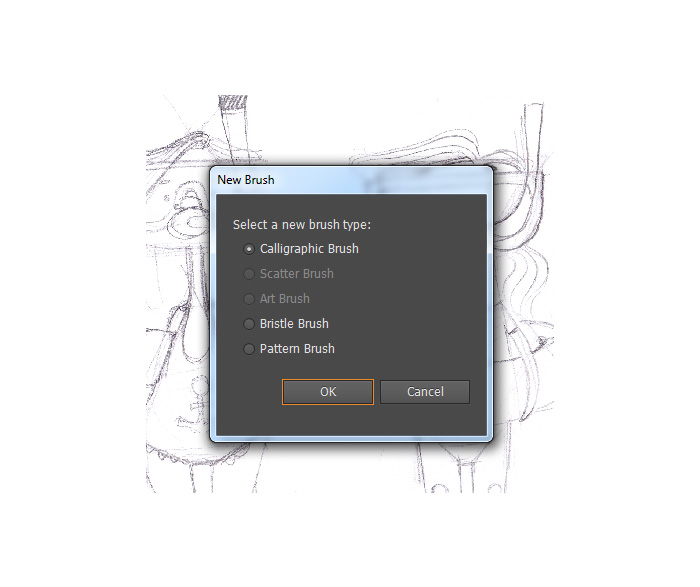
I’m going to use 2 pt size brush with variation set to 2 pt. But you can play around with the settings and find which one fits you.
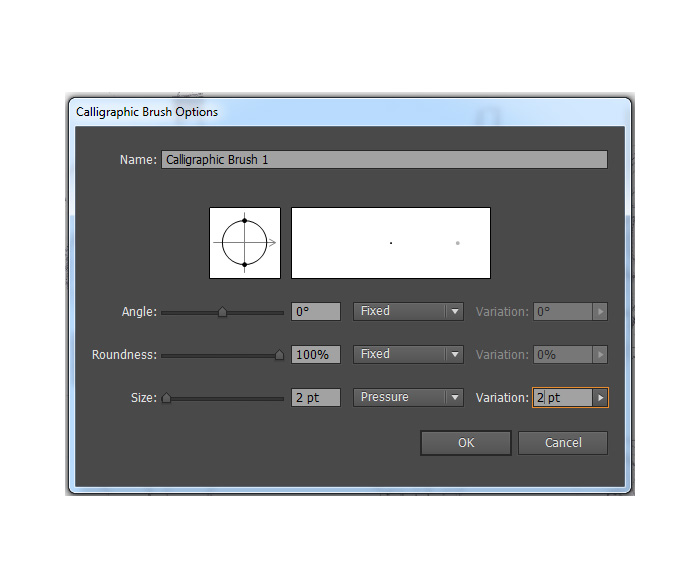
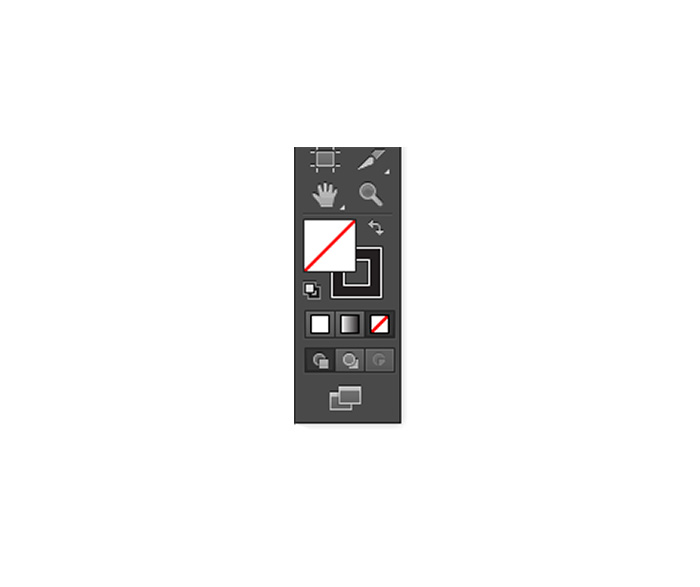
Hit OK. Now we are ready to start drawing the contour. We’re using black stroke without fill.
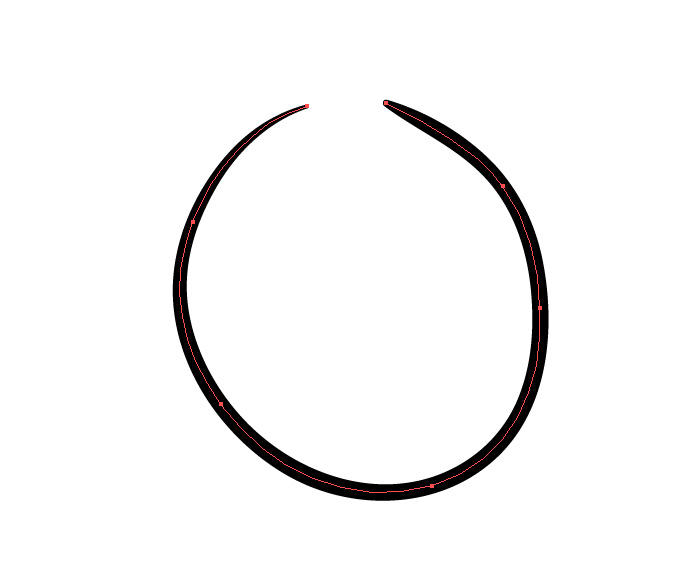
Try to draw continuous lines, because it will be easier to combine them and make shapes. That’s how we close a path to make a form from the contour:
Choose the Select Direction tool (A) and select the first and the last anchor point. Click right and choose Average. Hit OK.
Right button again and choose Join.
Now we have a closed shape.

By using this method, we are drawing all the main shapes of the character.
Step 4
We can start filling the shapes. I’m choosing random colours. If you like the final result and want to use them, you can find the colour codes in the attached file.
To fill in the colors, use the same tool you’ve used for the contour and hit Shift + X to switch the stroke color into the fill. To rearrange the order of the shapes, make good use of CTRL+ [and CTRL+].
Create the clothing stripes:
I’m going to show this step, separate from the other elements, so as to follow the process easier.
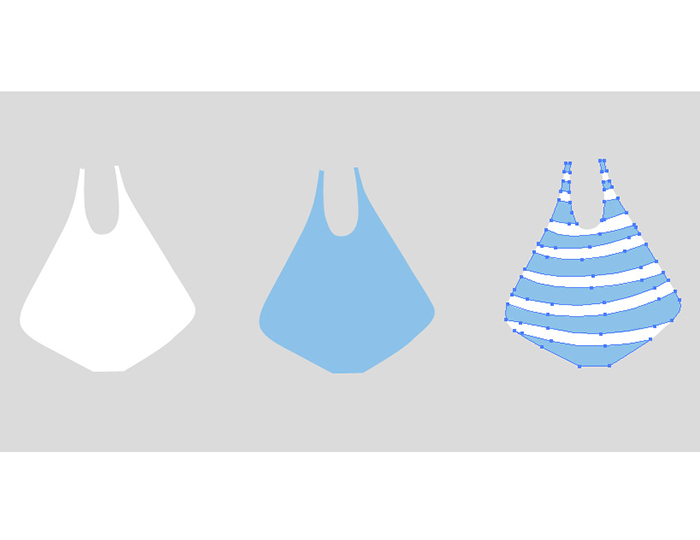
Select the blue shape and switch the color to white. Now select it by clicking on it, then copy (CTRL+ C) and paste it in front (CTRL+F). There are no visible changes because the shape in the front is the same color as the one in the back. We change it to blue or any color you want.
Now get the Eraser tool (Shift+E) and just draw the stripes by erasing the blue layer from the top. That’s how it looks like:
Step 5
We will add some volume to the body.We already have the stripes selected so just repeat the process: copy and paste in front only the stripes (Ctrl+C and Ctrl+F), change the color to a little bit darker blue and “draw” the shadow by erasing the area which should be lighter. Now we have something like this:

I used the same method to add shadows and highlights on the other elements of the illustration. I’m spending more time on drawing the floats on the arms because I want to give them plastic texture. That’s how our illustration looks like on that stage.
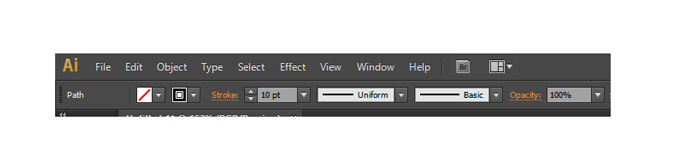
How we create the glasses?! It’s very easy. We have this stroke with the shape of glasses. Copy it (Ctrl+C and Ctrl+V) we will need the form later for making the glass part of them. We will just make one of the strokes thicker by selecting it and making it’s weight 10 points, basic brush definition and variable weight profile set to uniform.
Convert the stroke to shape Object-> Expand or Ctrl+F1. Click OK.
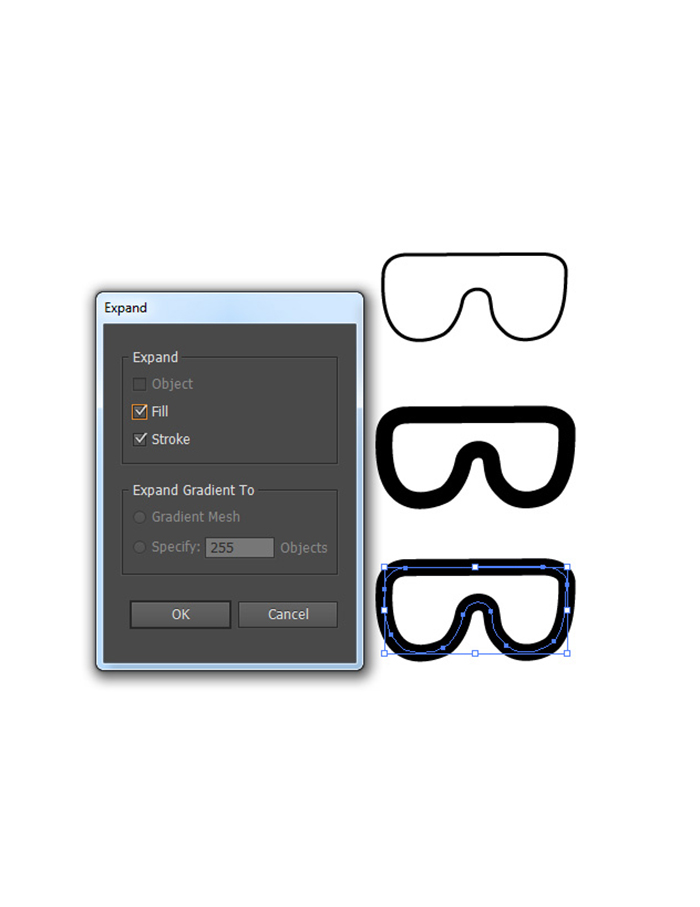
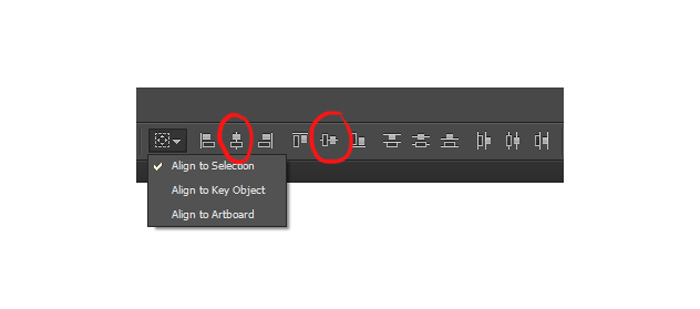
Now we have two objects stroke and black filled shape .Fill the stroke with any blue color and reduce the opacity to 40%. Select both objects and align them horizontal and vertical. Use the presets from below.

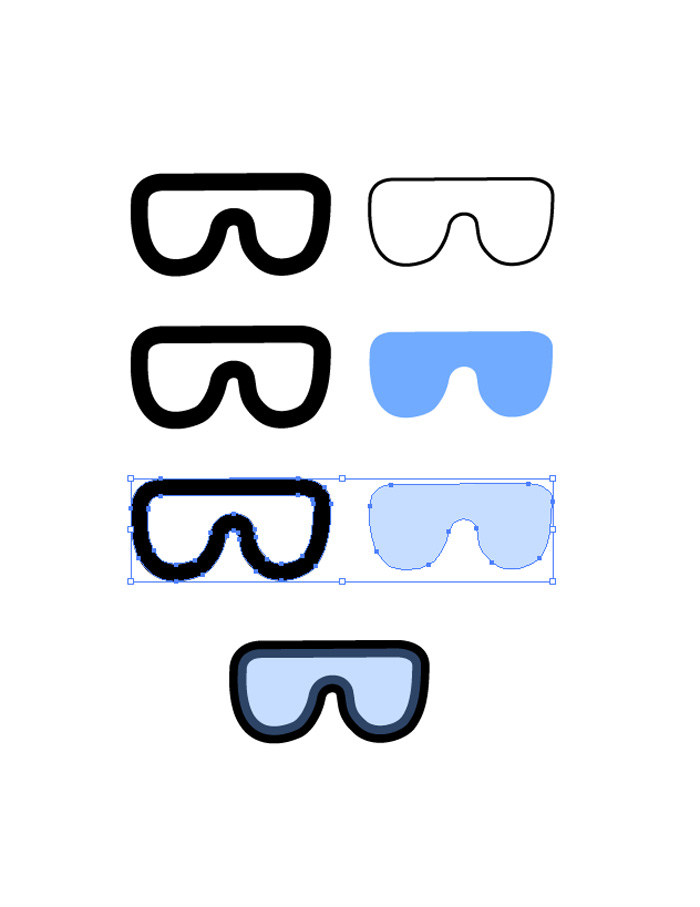
Bring the blue layer in front, if it’s not on top (select it, right click-> bring to front or Shift+Ctrl+]).
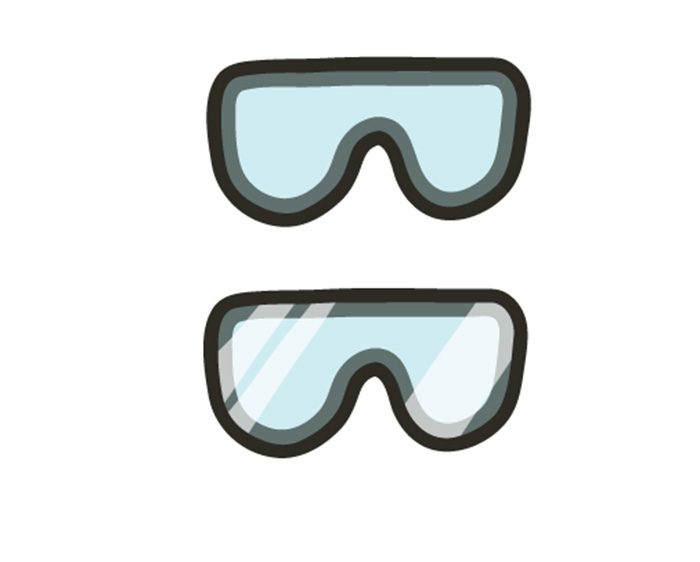
To create the reflections, copy and paste the blue layer, make it white and use the Eraser tool to draw them.
Step 6
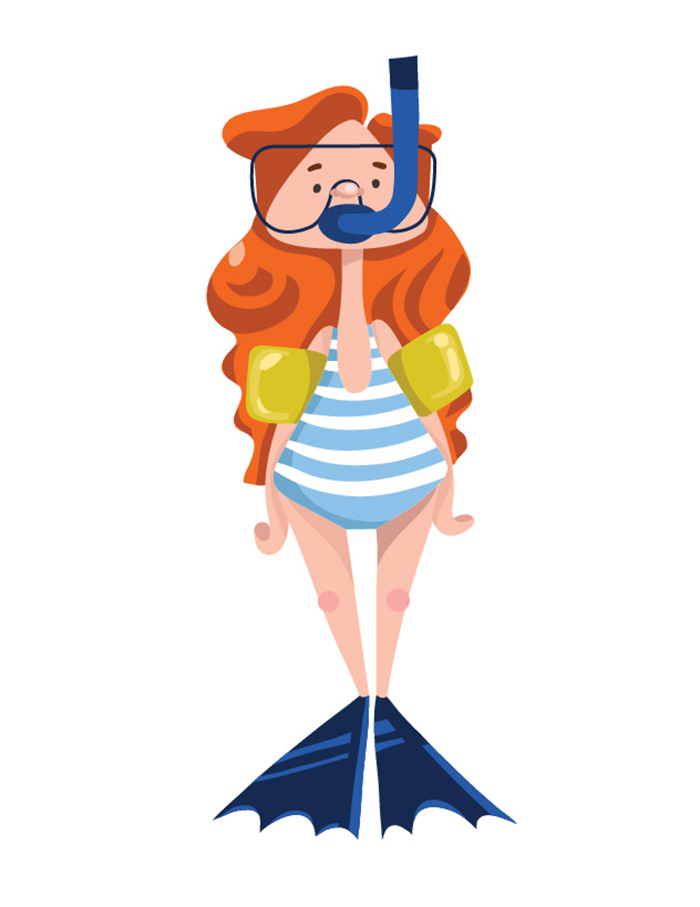
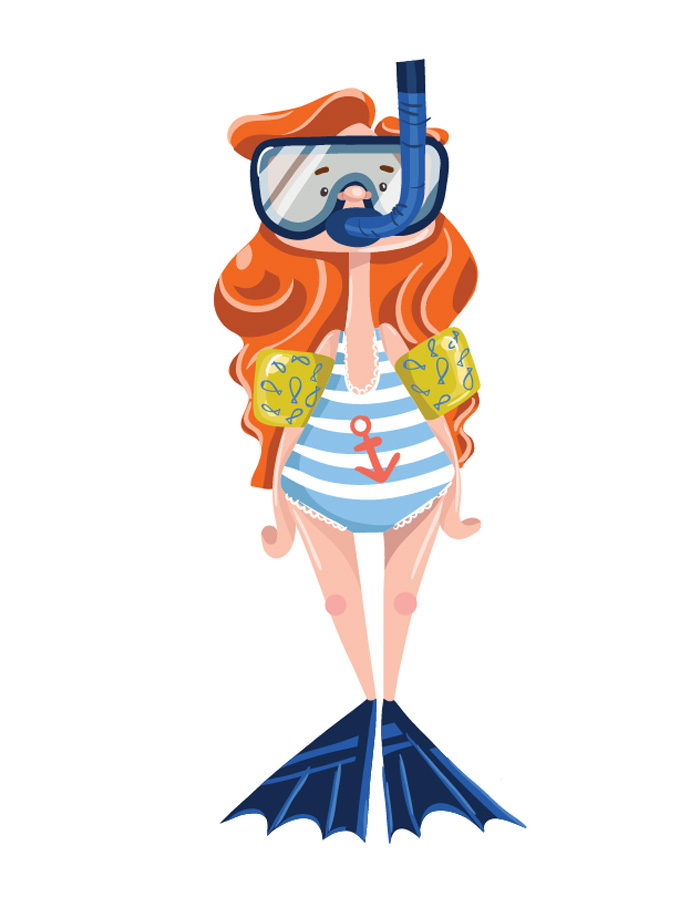
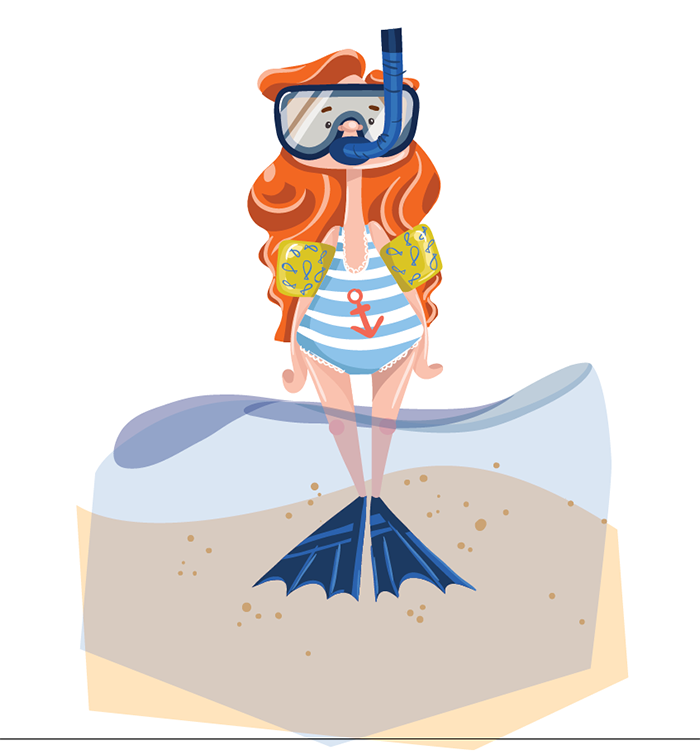
Adding the details is the final step of drawing the character. I’m going to use the same calligraphic brush, which we used for the contour. I’m adding some highlights to the hair, skin and the swimming fins. I’ve put some lace details to her bath costume and an anchor, and because I’m obsessed with patterns, I’ve drawn some little fishies on the floats.Do not forget to expand all the strokes you draw. Be careful not to overdo the details. They are necessary, but if you put too much of them, it’s going to be hard to focus your look on something.
This is how our character looks finished.
Let’s make an illustration. To do this, we are going to add a background.
I just randomly drew some shapes, and I’m going to arrange them in layers, trying to give that feeling of water depth. Reduce the opacity of the “water layers”, so you can “dunk” the character in it.
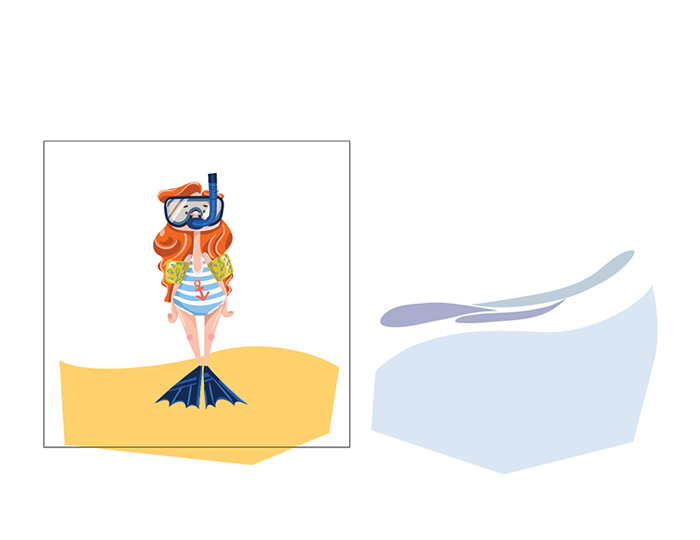
Don’t worry about the contour of the shapes, they don’t need to look carefully drawn. We will cut them off later.
Add some dots to a darker colour to give this sand texture.
We are going to draw some algaes, shells, cute fishes and stuff separately so we can add them to the illustration. We just moving them around and trying to make a nice composition.
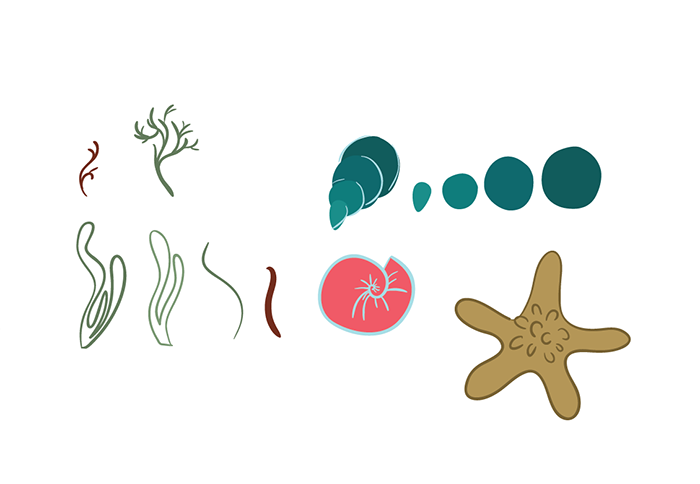
We will use simple shapes and strokes, so we can change the colour really fast, if we don’t like it.
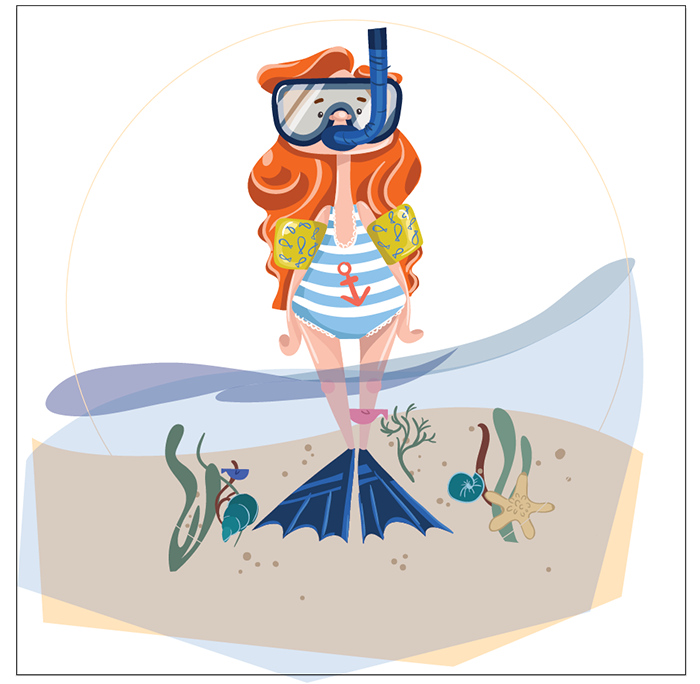
That’s how my canvas looks like. We are pretty close to the final result. If you are wondering what the beige circle is for, I’m going to tell you right now.
Just draw the circle copy and paste it (Ctrl+C and Ctrl+ V).
You can put it out of the board for now.
Select the circle from below, put it on the top (right click+Bring to front or Ctrl+Shift+]).
Select all the elements in the artboard, right click and choose Clipping Mask. The result should be something like this:
It looks almost finished, but I think about adding a last touch. Remember the circle we copied earlier?
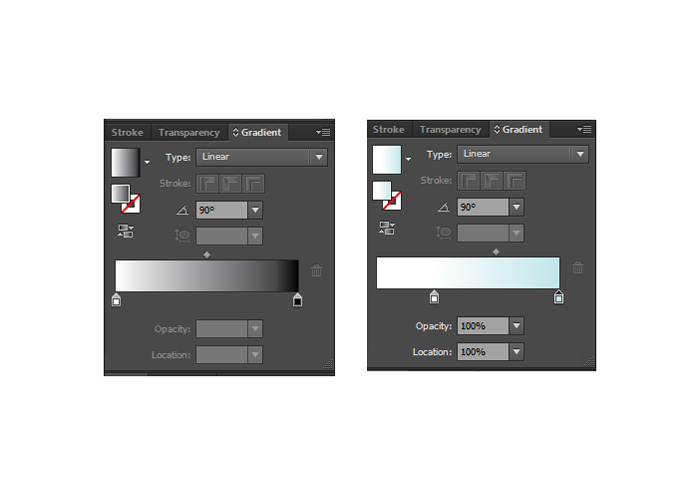
Select it and go to the Gradient panel, and if it’s not open go to Window->Gradient or hit Ctrl+F9.
We have by default a black and white, linear gradient. We are going to change the black colour to a blue one. (I’m going to use this one: c0e5e8)
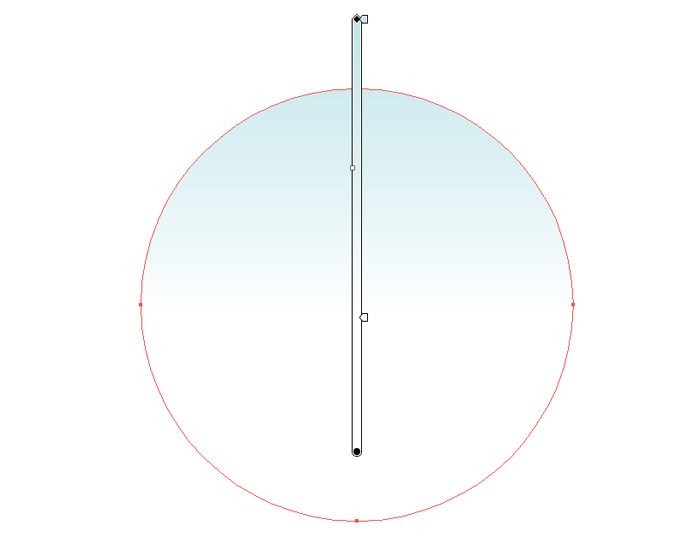
We can control the quantity, the angle and the position of the blue colour by selecting the object and choosing the Gradient tool (G).
Once we are glad about the result, we are ready to finish our illustration.
Select the circle with the gradient and those with clipping mask and just align them, how we did with the glasses.
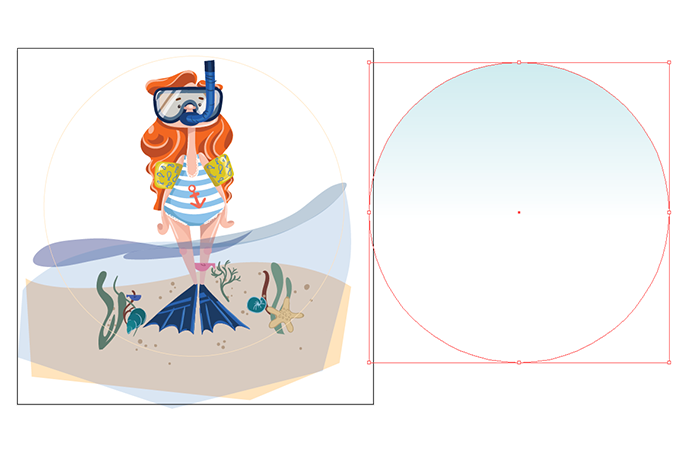
Group them by hitting Ctrl+G.
Tadaaaa! We’ve just finished our summer, vector illustration. I’m pretty happy with the final result and I hope you too.

P.S. If you like the colour palette you can find all the used colours here:
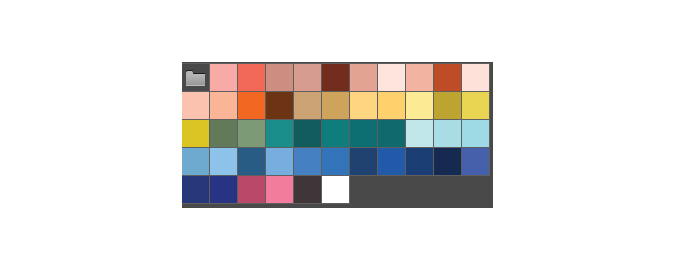
You can just get them with the Eyedropper Tool (I).
Thank you for reading, and I hope you’ve enjoyed reading it as much I enjoyed writing it. Know anyone else who wants to learn Illustrator? Then share them this tutorial!
Your tutorial is awesome and very informative thanks for sharing with us and step by step details
I needed to compose you one little bit of observation to be able to say thanks the moment again about thelovely things you’ve contributed here.
It’s simply wonderfully generous with people like you giving unhampered what most
people could have distributed as an ebook in making some
bucks for themselves, principally seeing that you could possibly
have tried it in the event you desired. These secrets
as well worked to become a great way to fully grasp that other individuals
have similar interest just like my very own to understand a good deal more on the topic of this matter.
I’m certain there are thousands of more pleasurable instances ahead for folks who check out your blog.
Đây là những thực sự tuyệt vời ý tưởng
trong về viết blog. Bạn đã chạm vào một số tốt điểm ở đây.
Bất kỳ cách nào theo kịp wrinting.
Great beat ! I wish to apprentice while you amend your
web site, how could i subscribe for a blog website? The account aided me a acceptable
deal. I had been a little bit acquainted of this your
broadcast offered bright clear idea
I do not even know the way I ended up here, however I thought this publish used to be good.
I don’t realize who you’re however certainly you are going
to a famous blogger in case you are not already.
Cheers!
Great job. I really appreciate the time and energy you behind this amazing article. Thanks for sharing. I have learn some thing totally new and challenging. I would definitely bookmark your website and visit once in a week to enhance my skills. Thanks for sharing.
I have never used a graphic tablet but have been interested in doing so. What do you use?
Your method is so brilliant. As soon as possible i will try this design as your method. Hopefully i’m successful. Thanks for educational tutorial.
Buenisimo te Agradezco por tu tuto !!1 Thanks…
Lovely tutorial, I made it till the end.
And happy with the result! Thanks.
Wow very nice tutorial
Very informative post. Thank you so much.
Wow! I am very glad to see this article. Congratulations for finished your summer, vector illustration. you are pretty happy with the final result and I am also happy about that.
Great Thanks for sharing this information. I am so happy to read these articles
All the steps of drawing a character you have shared are great. Thanks for sharing such a wonderful and informative article.
Helpful tips for me. Thank you